
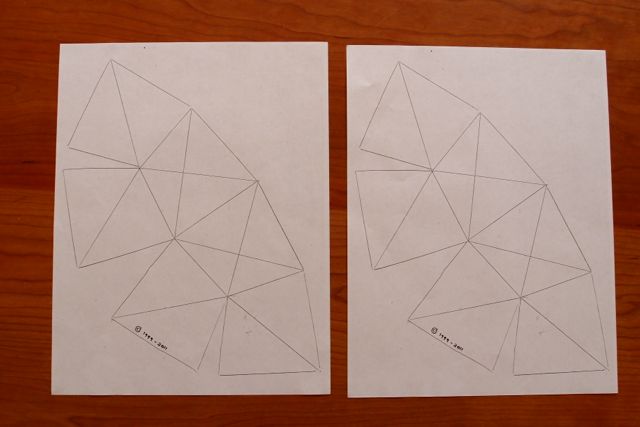
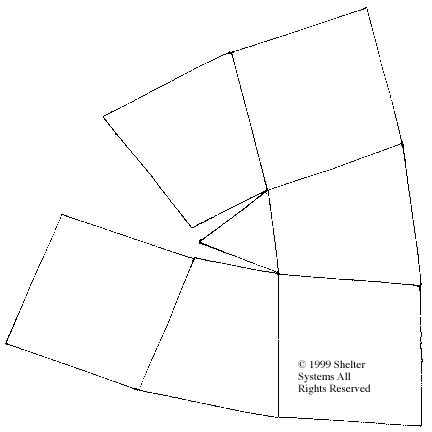
Draw two identical copies of the design on 8.5″ x 11″ sheets of card stock
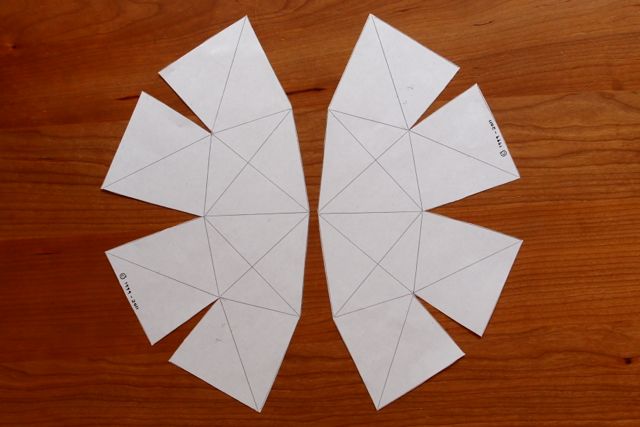
Using scissors, cut out designs
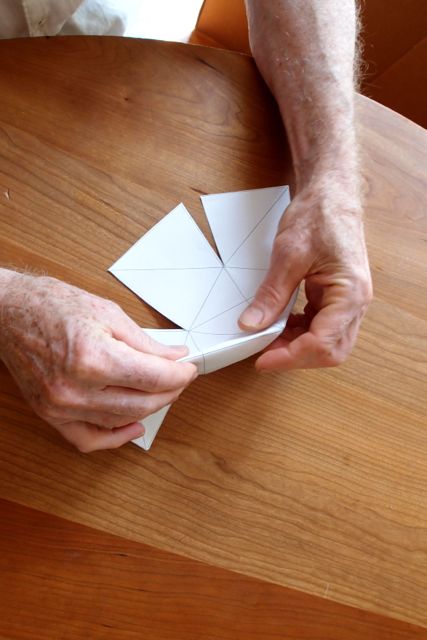
Double crease all folds
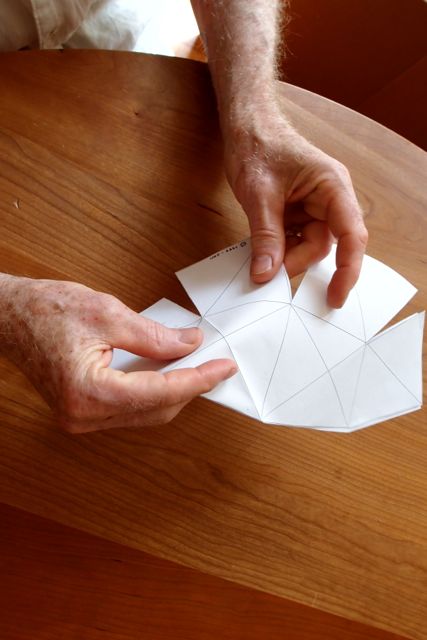
Continue to double crease all folds
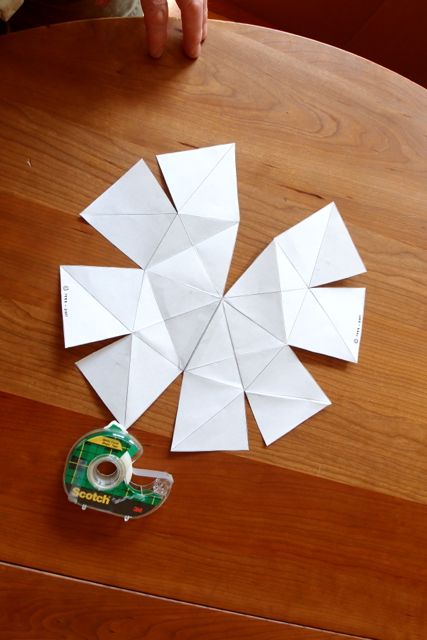
Using tape, tape the two halves together
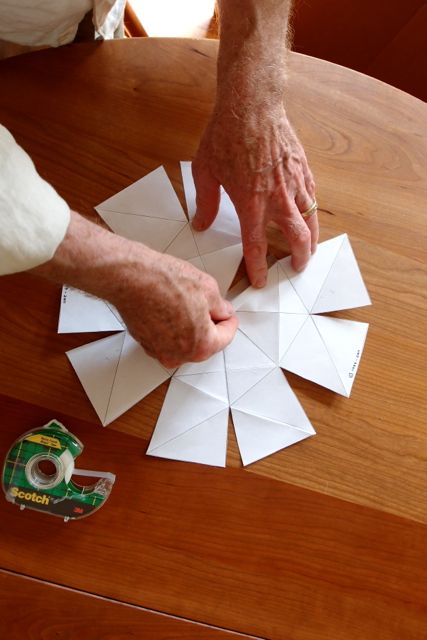
Continue to tape as shown
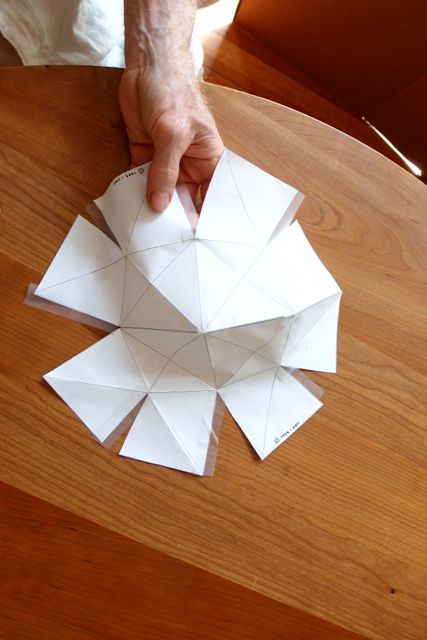
Continue to tape as shown
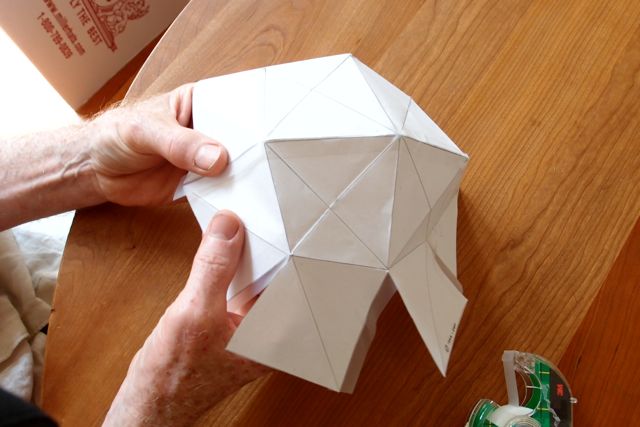
Continue to tape as shown
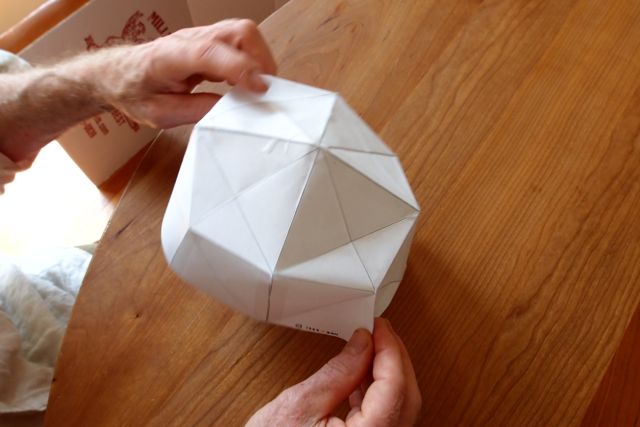
Fold as shown
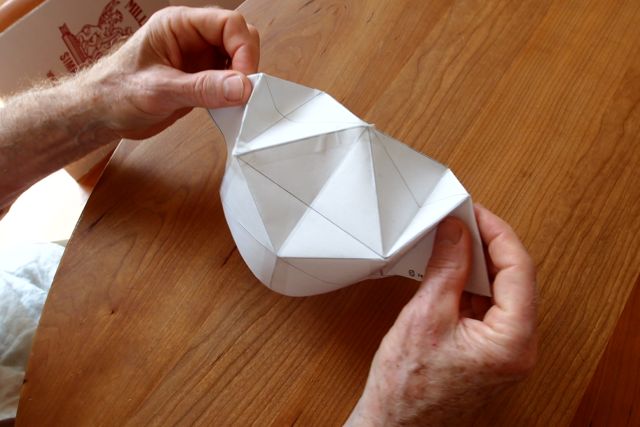
Fold as shown
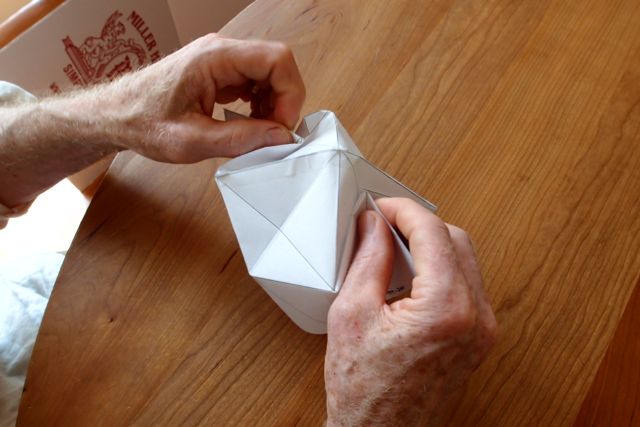
Fold as shown
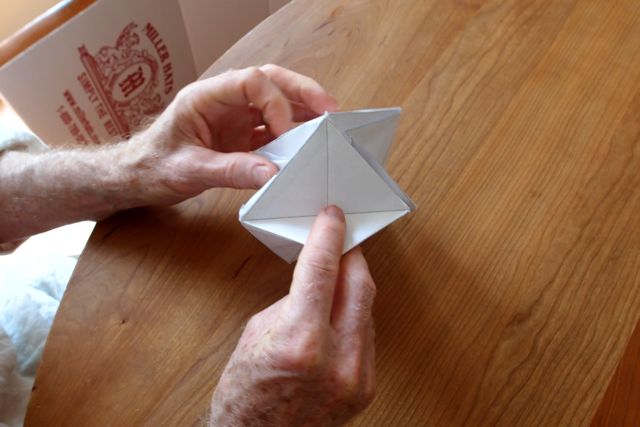
Fold as shown
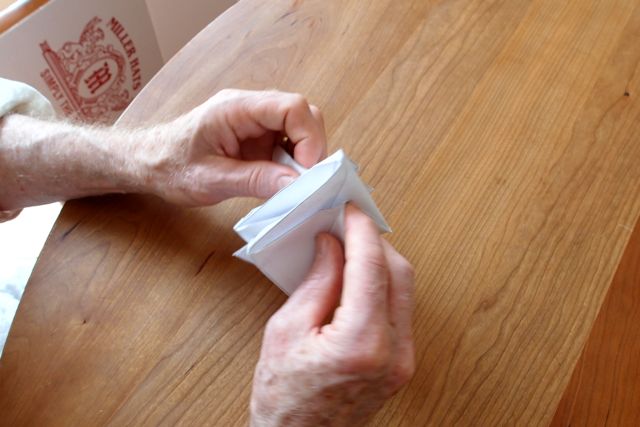
Fold as shown
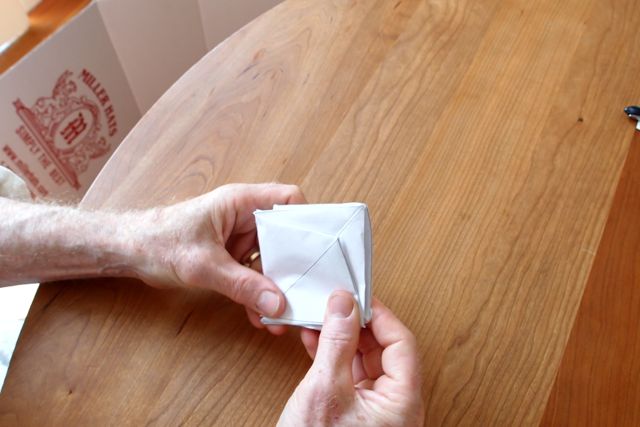
Fold as shown
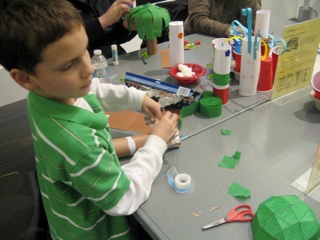
One of the best ways to get an idea of what your Shelter Systems’ dome will be like is to make a model of it. A model will allow you to hold and turn the structure in your hands. You will be able to see it in 3D. You can cut out a photo of yourself to scale and “get” inside the dome. Show and share. Models are fun!
A license is granted to the viewer of this page to make the copies of this page that are needed to create two cardboard models of each of the structures below. No other license is either granted or implied.
This Model is easy to make. First, print out four copies of this page on card stock. Then cut them out and, using a ballpoint pen, score the interior lines. Fold and tape (use 3M’s Mystic tape on the inside) the interior cuts of each of the four. Last, tape the four assembled units together.
You can compare two different sized domes more easily by making one model of each dome. You can print the pattern to the scale of two different sized domes by using a scaling program such as Photoshop, a copy machine, or your “Page Setup” before printing. Assembled, these models will help you to appreciate the large increase in volume that occurs when the diameter goes up in size.
You can remove an arch of panels to get an idea of how your dome will work in its Arch Dome ™ form. Make two domes and join them together to create a full sphere. Can you figure out how to make the BubbleDomes?
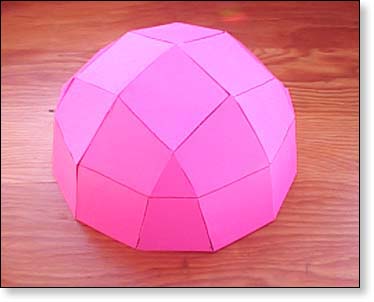
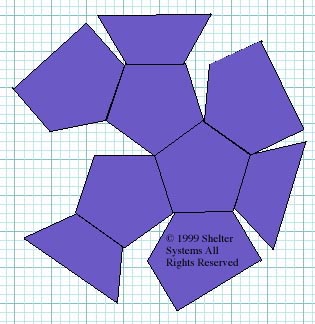
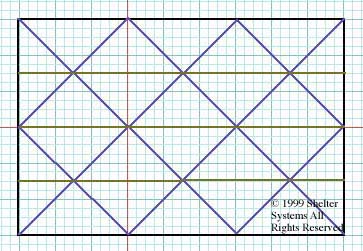
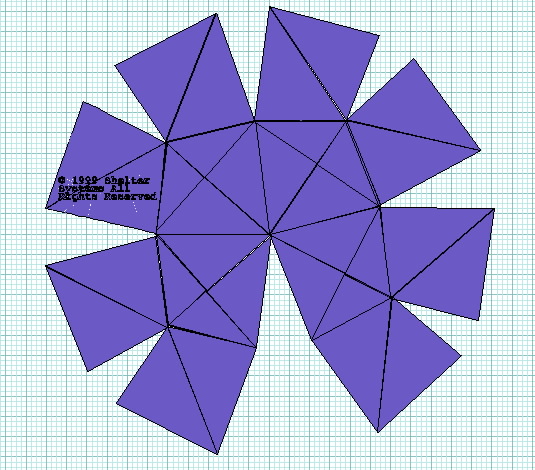
Print and cut out pattern. Fold downward on the blue lines and upward on the green. Then bend the model into shape.
This is a model of our Amazing Folding Dome shelter of rigid panels that folds flat when not needed! It can also be made as a Folding Tent with poles on the edges that folds into a tight bundle. Make one of cardboard. To make the model, print the above on card stock, cut and fold on lines and tape together. See how it folds up. Origami Tensegrity Dome ™ Tent.
Permission is granted to electronically copy, print and make two hard copies of each of the above models, no larger than 1.5′ in diameter. No other license is either granted or implied.